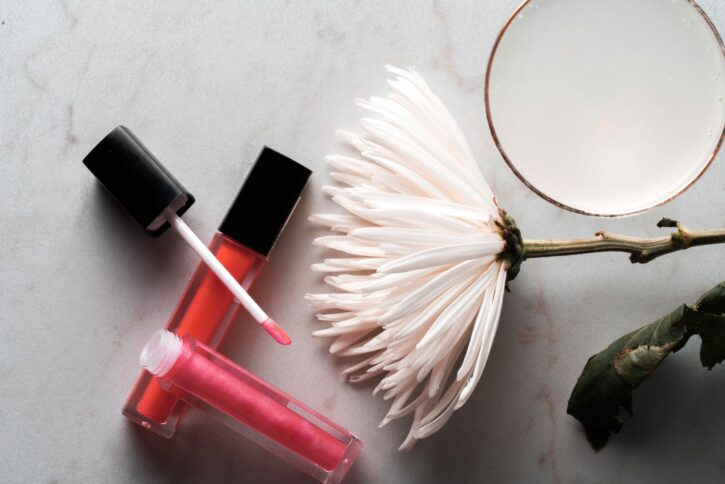
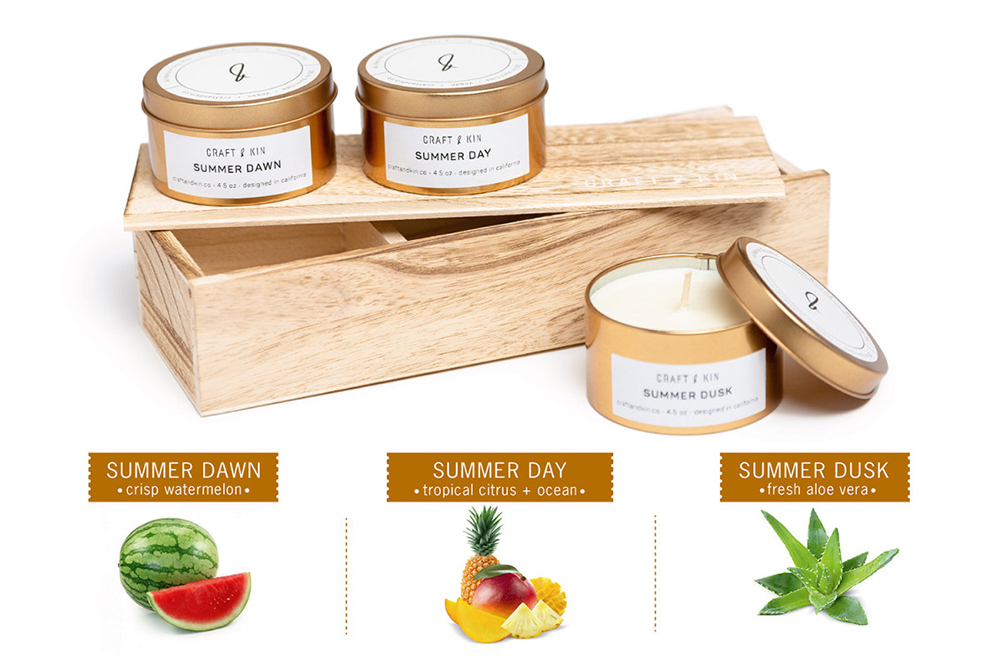
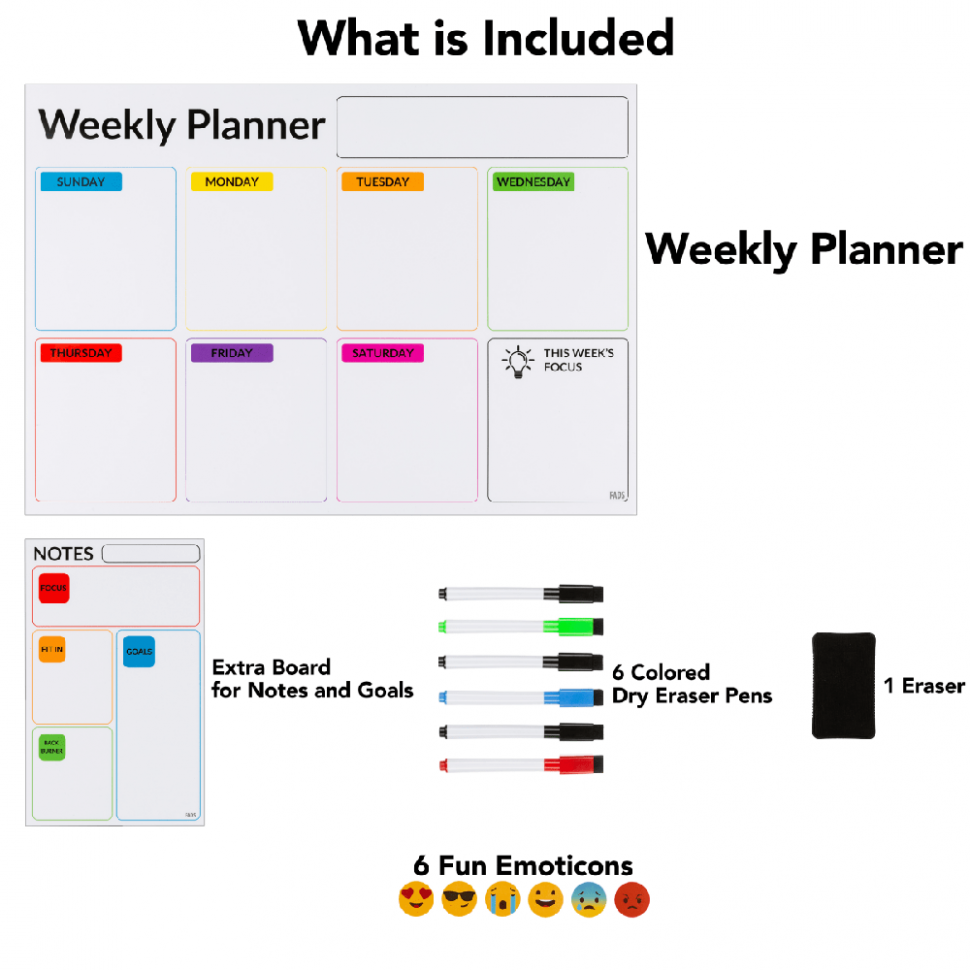
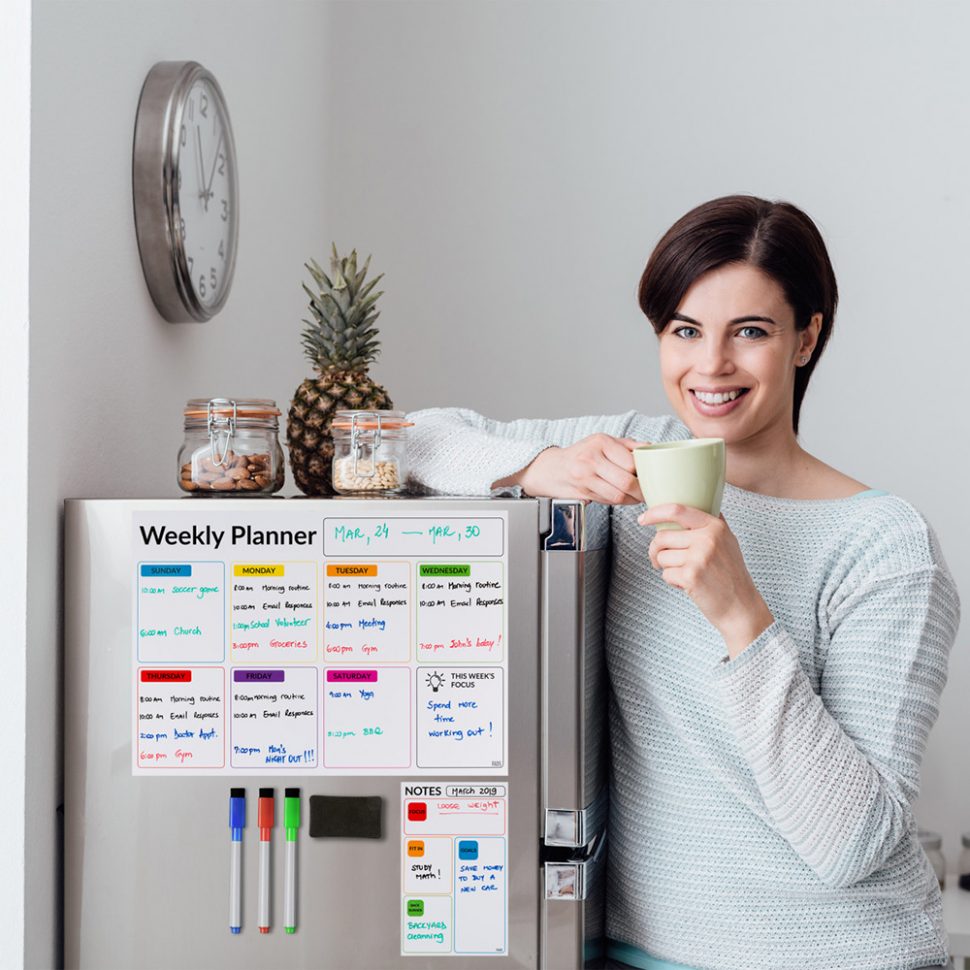
If a picture is worth a thousand words, it’s especially true when it comes to e-commerce photos. The first thing your potential customers will look at in your products listings are the photos you’ve included.
Before a customer purchases your product, they want to know what it looks like. Beyond that, they want to get a sense of the product’s size, what it will feel like, and how it will fit into their life. Since your customers are shopping online, they obviously can’t experience the product in real life first. Your product photography must answer all those questions for your customers, convincing them that this is the right item for them.
Here are ten tips for improving your e-commerce photos and creating more sales.
1. Find natural lighting for your e-commerce photos
Whenever possible, use the sun as an indirect light source. Set up your photography station outdoors or next to a large window to get the best possible natural lighting. This creates flattering photos that show off your product well. If you’re not able to use natural lighting, invest about $100 in an affordable light kit – an investment that will pay for itself with more sales in no time.
2. Arrange your products in interesting ways
If your product comes in multiples or has several components, try arranging the items in different ways. Take photos of all the pieces just out of the box and then take photos of the product fully assembled as well. Create multiple layouts and photograph them all. Interesting layouts help your customer get a better sense of the product and make it more visually appealing.
3. Always use a tripod
It’s hard to avoid camera shake no matter how steady your hands are, especially when shooting smaller and more intricate products. Always use a tripod to ensure you get crisp, clear e-commerce photos that are completely in focus. As a bonus tip, set a two-second timer on your camera. Pressing the shutter button creates a bit of camera shake, so having a short delay takes care of that problem for you.
4. Use a backdrop
A backdrop will make all your product photos look instantly more professional. You can purchase a photography lightbox, but even white mat board or a large roll of drawing paper works. If you want to take things up a notch, you can experiment with colored paper or a patterned fabric to create eye-catching backgrounds.
5. Take multiple photos
Whether your product is a single item or has many components, take multiple photos, period. Presenting multiple photos from different angles creates a better online shopping experience for your customers. A full gallery of images to scroll through also conveys your confidence in the product. If you’re proud to show it off, customers will have more faith in it.
6. Use larger photos
Shooting with more megapixels gives you larger, higher quality images to work with. Not only will the details show up better in photos, but you’ll be able to edit and zoom in on details of your product. Aim for about 1600px on the longest side of your photos. This provides a quality image without being too large a file that is slow to load on Amazon.
7. Align your images
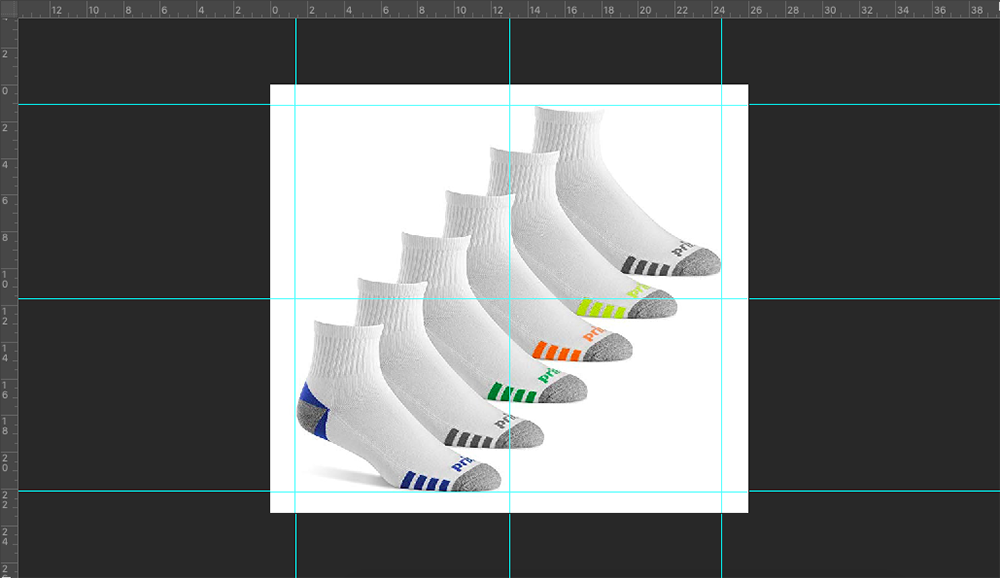
An easy way to make your product photos look more professional is to center and align your images. Use a photo editing tool like Photoshop to crop and tilt photos after taking them. Make sure your product takes up 80-90% of the total image and keep an even border of white space on all sides of the product. The guidelines tool in Photoshop is especially handy.
8. Add text and graphics to your e-commerce photos
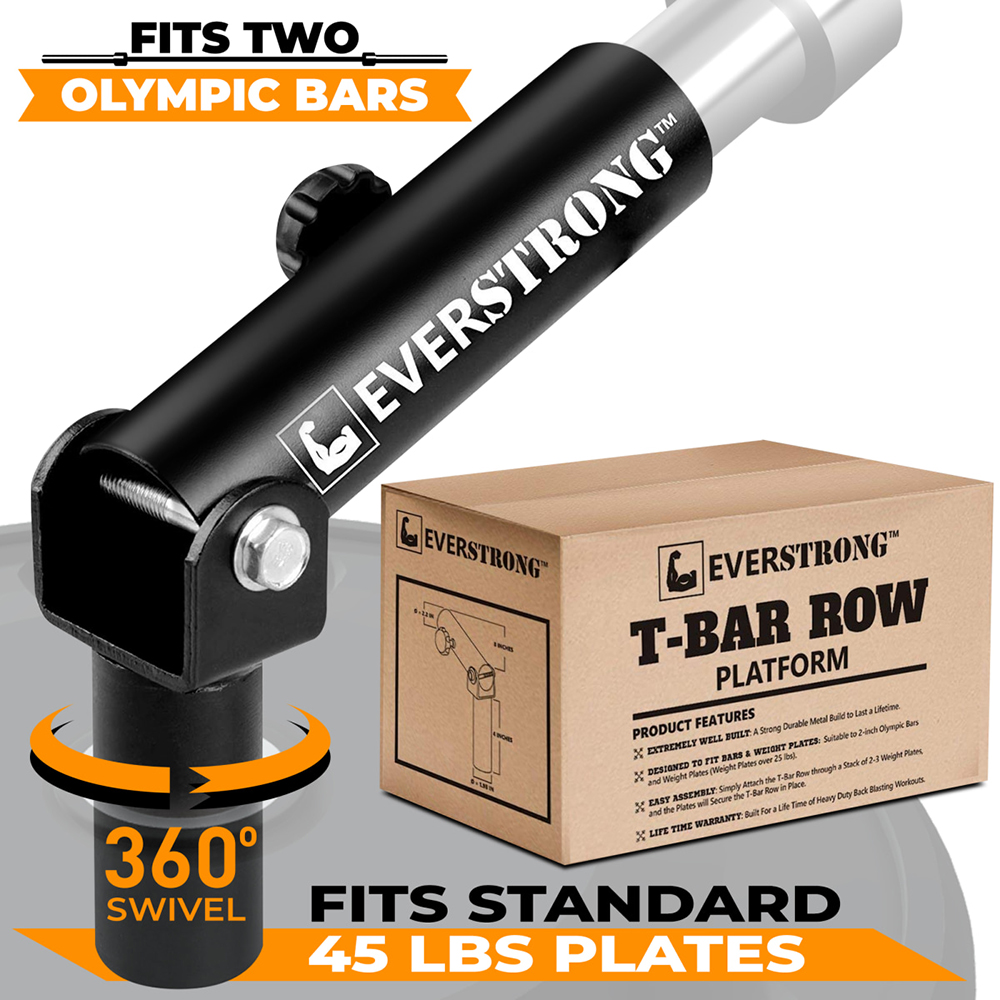
After you’ve taken your e-commerce photos through a basic editing process, you can add text and graphics to them. Use Photoshop or free online software like Canva to overlay key details of your product. Add a small graphic to call out features like “Waterproof,” “iPhone Compatible,” or “Dentist-Approved.”
9. Keep your photos consistent
Once you’ve created a product photo style that works for you, keep the style across all your products. For example, use backgrounds from the same color palette and add overlays with the same font. Keeping your imagery consistent helps build your brand and makes your different products instantly recognizable with your customers.
10. Split test your images
After polishing up your e-commerce photos, it’s time to choose which photo will be the main image. Online shoppers will only take a split second to decide if they want a closer look at your product, so this featured image is crucial. Fortunately, you don’t have to decide your featured image on a whim.
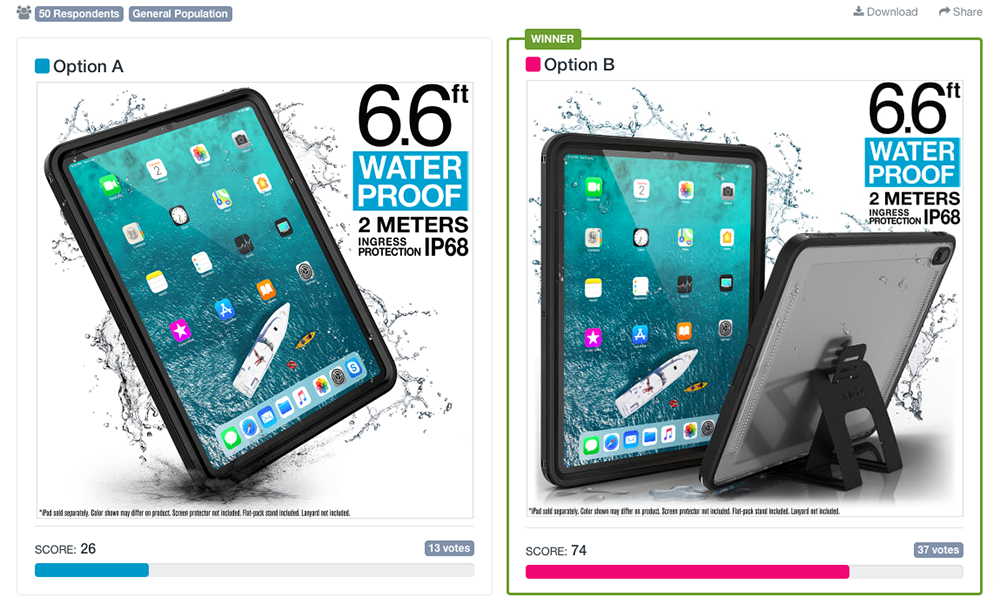
Split testing different product images gives you quantifiable results and shows which photos are more attractive to customers.
Software options will rotate different featured images on your Amazon listing and record how this affects sales. However, using automated software can become pricey. You’ll have to pay for the software itself and likely for ads to drive traffic to multiple listings. Split testing your live listings can also take weeks to return with enough results. And all that time, you risk losing sales and ranking.
Instead, you can run split testing simply with PickFu.
PickFu polls show your selected images to a pool of real people based in the United States who instantly vote on which option they prefer. Along with a vote, they also comment on each image, letting you know why they did (or didn’t) like it. You’ll get results that are easy to read and understand, keeping the guesswork out of your photo selection process.
PickFu polls start at just $50, and you always pay a flat rate so it’s easy to predict and budget for. Poll results come in as quickly as 15 minutes, which means you can take action on your Amazon listings right away – no long waits necessary!
By making a few improvements to your e-commerce photos and split testing them with PickFu, you could immediately increase your sales. Read the story of an e-seller who did exactly that!
