One of the keys to running a successful e-commerce store is having beautiful product photography. Since customers shopping online cannot see or pick up products in person, they rely on the product images you post to make their decisions. E-commerce product images act as a first impression, so they must look professional, polished, and trustworthy.
Beautiful images convey the value of your products and create trust in your brand. When done well, product photos engage shoppers and convert more of them into paying customers. Whether you’re working with a generous budget or no budget at all for photos, we have 12 tips to help you create beautiful e-commerce product images.
1. Plan your images ahead of time
As inventor Alexander Graham Bell said, “Before anything else, preparation is the key to success.” Set yourself up for success by thinking through the details of your product images and planning ahead. Know what kind of images you need, what props to have on hand, and how much editing you’ll need to do afterward.
2. Use high-quality lighting

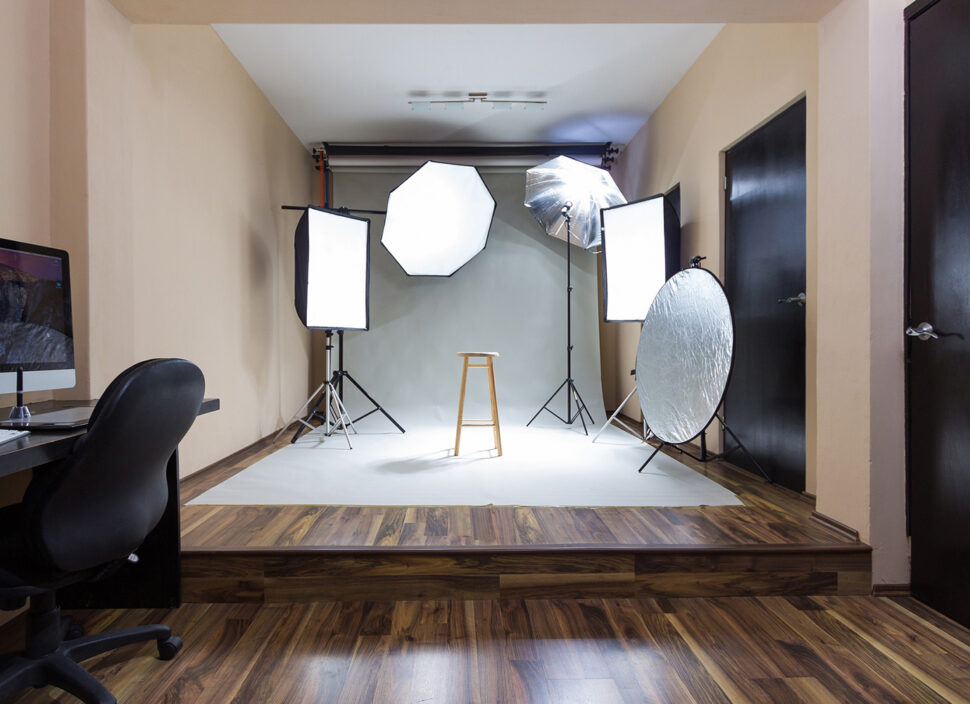
Lighting will make or break your product images. Take advantage of natural light sources, like windows and doorways. If you don’t have space with enough natural lighting, invest in a professional lighting kit (they run about $100). Your products should be shown bright and clear in order to appeal to online shoppers.
3. Show off the details

Customers want to know everything about your product before deciding to purchase, which means you need to show off the finer details of your products. Include close-up shots of details like zippers, handles, or pockets. Show the product from alternate angles to give customers a full understanding of the product. You can even create short gifs or videos that tie together different details and angles to keep your listing interesting.
4. Show your product’s size by creating scale
Create scale in some of your product images to give customers another way to understand the size of your product. Position your product with common items like coins, coffee mugs, or flowers to create a scale of reference. While listing dimensions in the written description is still essential, showing scale in product images is an easier way for customers to picture the size for themselves.
5. Take product-only images
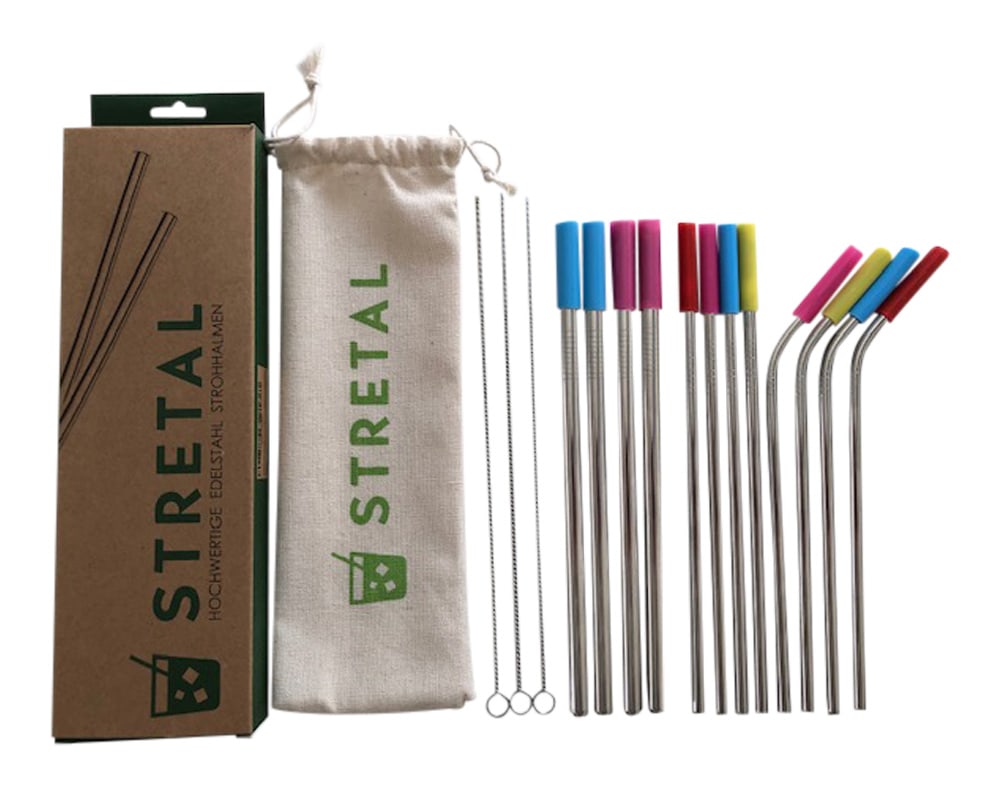
For every different e-commerce product you have, take photos of the item on its own. Set your products up in front of a white backdrop or use a photography lightbox to get crisp shots with no distractions in the background.
6. Compose lifestyle images

In addition to product-only images, set your product up in lifestyle images. Using backgrounds, props, and even models, create a realistic scene showcasing your product. Lifestyle images tell a story and help customers visualize themselves using your product.
7. Showcase your packaging

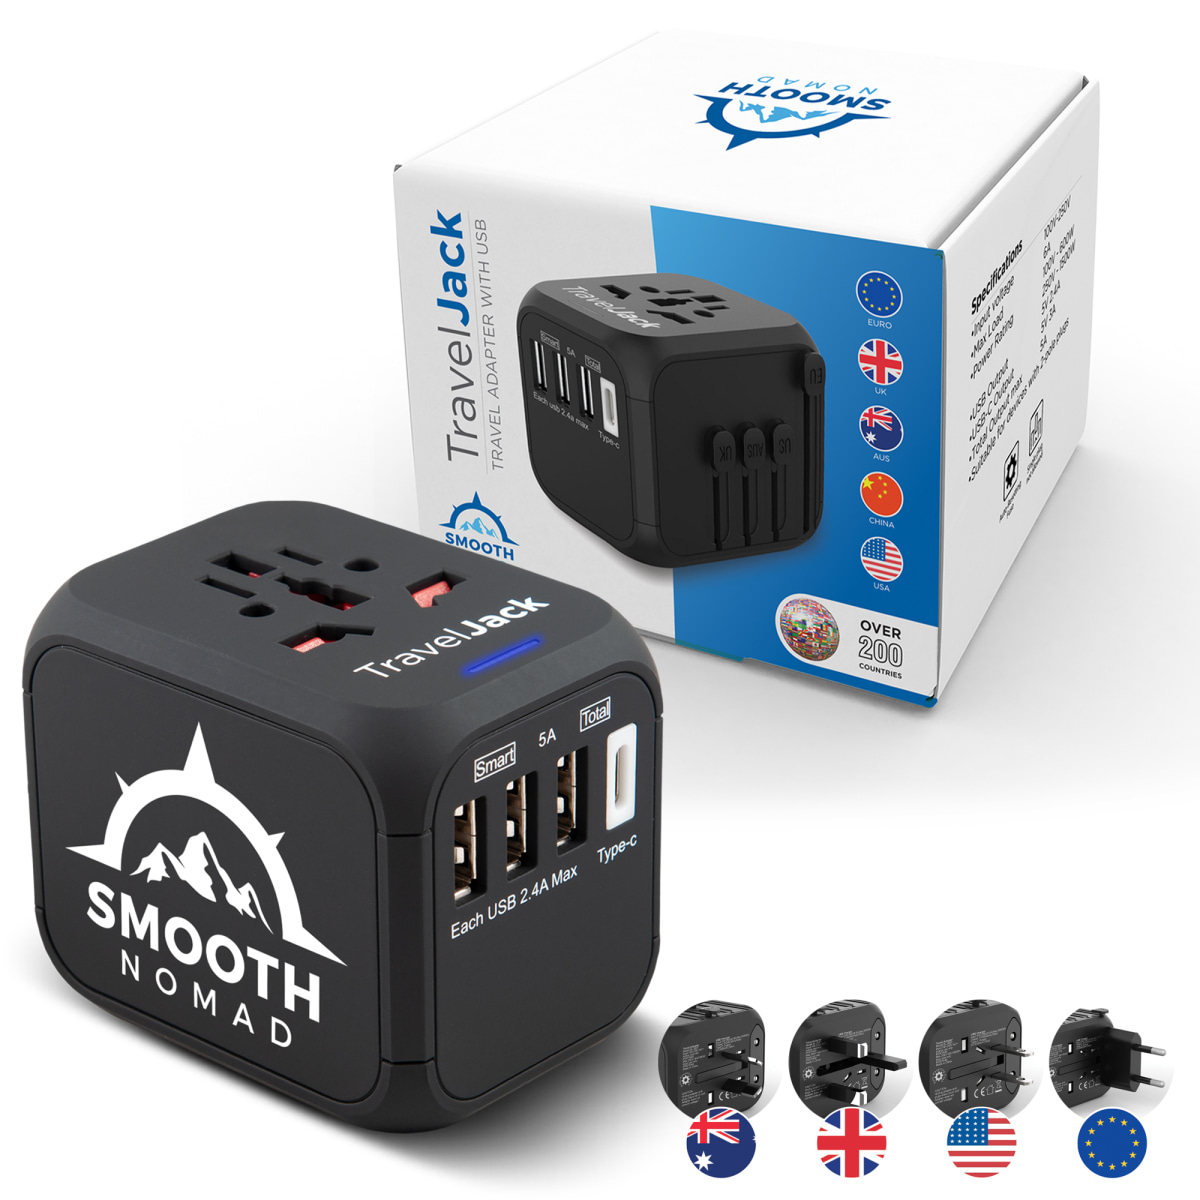
If your product has clever or attractive packaging, then show it off! Despite the common advice that you’re not supposed to judge a book by its cover, shoppers will anyways. Including an image or two of your packaging adds more appeal and shows a well-rounded purchase experience for the customer.
8. Edit your images after shooting
Taking product images is only part of the process. The next step is editing those photos which can include steps like cropping, resizing, color correcting, and adding text overlays. You can use premium editing tools like Adobe Photoshop or Lightroom, but there are many free tool online tools available, including Pixlr, BeFunky, or Canva.
9. Use a consistent aspect ratio
When editing your photos, crop them all to the same aspect ratio — meaning they should all be the same width to height ratio. Keeping these kinds of details consistent across all your e-commerce product photos adds a professional feel to your listing. It also helps build your visual branding so customers recognize your products and know what to expect.
10. Outsource photo production

Once you’ve got a plan and a routine for taking your product photos, consider outsourcing some of the work. You can hire an office intern or find someone online through a service like Fiverr to take your product photos and edit them afterward. This tip is optional but can save you time, freeing you up to work on other aspects of building your e-commerce business.
11. Use every available image slot
If your listing gives you the option to add six images, take advantage of it and add all six images. Use all of the image slots to include different types of photos including detail shots, lifestyle images, overlays, and more. A Field Agent survey showed that 60% of online shoppers in the U.S. needed to see at least three or four images, while 13% needed to see five or more.
12. Test your images with a live audience
Optimize the performance of your listing by split testing your product images with PickFu. If you’re thinking about changing the style of your photos or want to know which camera angle is more appealing to customers, you can run a poll to test different images head-to-head. A live audience will cast their vote for the image they prefer and leave a written comment about their choice. You can even tailor this audience to your target market, such as Amazon Prime members.
If your product listing isn’t set up yet, you have an opportunity to choose the best images and start strong. If your listings are already live, you have nothing to lose since testing happens outside of your marketplace. You don’t have to worry about changing the images in your listing until you know which will perform better and therefore won’t sacrifice any potential sales with poor images.
After a quality product, beautiful e-commerce images are key to the success of your online store. Put as many of these tips into action as you can to create a visually compelling listing that turns more online shoppers into paying customers. Once you’ve found the right strategy and routine, you can create persuasive product images with confidence and speed.


