Since Amazon shoppers can’t hold your product in their hands, they rely on photos to experience an item and decide whether to buy it. That’s why high-quality Amazon product photography is essential.
Amazon product pictures need to convey the basics — size, shape, texture, what’s included — but they also need to create positive feelings in your audience. When shoppers look through your photos, are they attracted to the product? Do they trust the quality of your brand? Do they feel the drive to buy?
This guide will tell you everything you need to know about how to take product pictures for Amazon.
DIY or hire a pro?
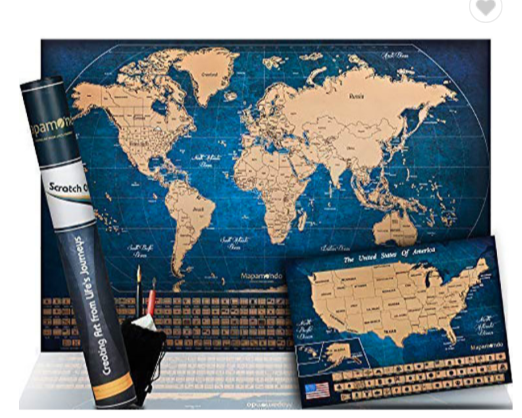
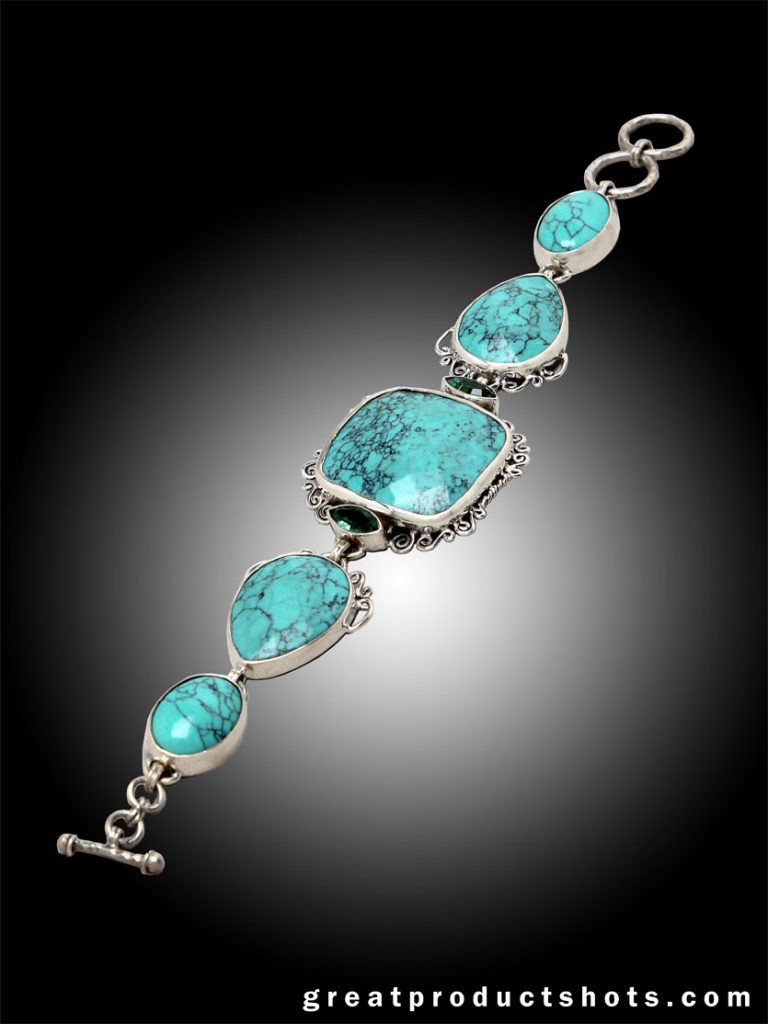
There are two routes you can explore for Amazon product photography: do it yourself or hire a professional shutterbug.
If you have a tight budget, you might opt to invest in a camera and basic equipment and become your own photographer. One good thing about DIYing it is that you learn the basics of product photography in the process. Then, if you choose to hire a pro in the future, you’ll be able to tell the good from the merely okay.
Are you a photography novice who doesn’t know much about professional product photography setup?
- The first thing to know is that you absolutely should not use the camera on your cellphone. Purchase or borrow a quality camera. It can be an entry-level DSLR with an interchangeable lens, but it needs to be a camera. Smartphone cameras have a wide angle lens which distorts your product and can’t compare to the quality of a real camera lens with regards to sharpness, clarity, and perspective. Not sure where to start with your new camera’s fancy settings? You can’t go wrong with automatic mode.
- Lighting equipment is crucial. No matter how good your camera is, the photos will look awful without the right lighting. If you want to get something affordable and professional-quality, an inexpensive light kit will run about $100. For an even less expensive option, use two desk lamps or work lights. Then make sure the White Balance on your camera is set to Auto. The key to good lighting is to use at least two lights and place them to the left and right of your product. Never light the product straight on. Play with different angles to see what looks most interesting. Also, be sure to shift the lights or your camera angle to avoid glare if your product has a shiny surface. Absolutely do not, under any circumstances, use the camera’s built-in flash, or you’ll end up with some seriously unflattering pictures.
- To create the perfect white background for shooting, go to an art store and look for a white mat board or drawing or tracing paper on a roll that you can drape from a shelf.
- Lastly, a tripod is a must.
Not into DIY? It’s easy to hire a professional online. You can ship your product to a studio that will shoot and retouch photos.
Tell a visual story
When setting out to photograph a product, shoot both pure product photography as well as in-use lifestyle portraits. Photos that demonstrate how to use a product and featuring happy models and alluring environments will convey emotion and help potential customers visualize themselves using what you’re selling. Add these to your Amazon listing along with the standard white background product shots that illustrate the basics of the product and you’ll be covering all your bases.
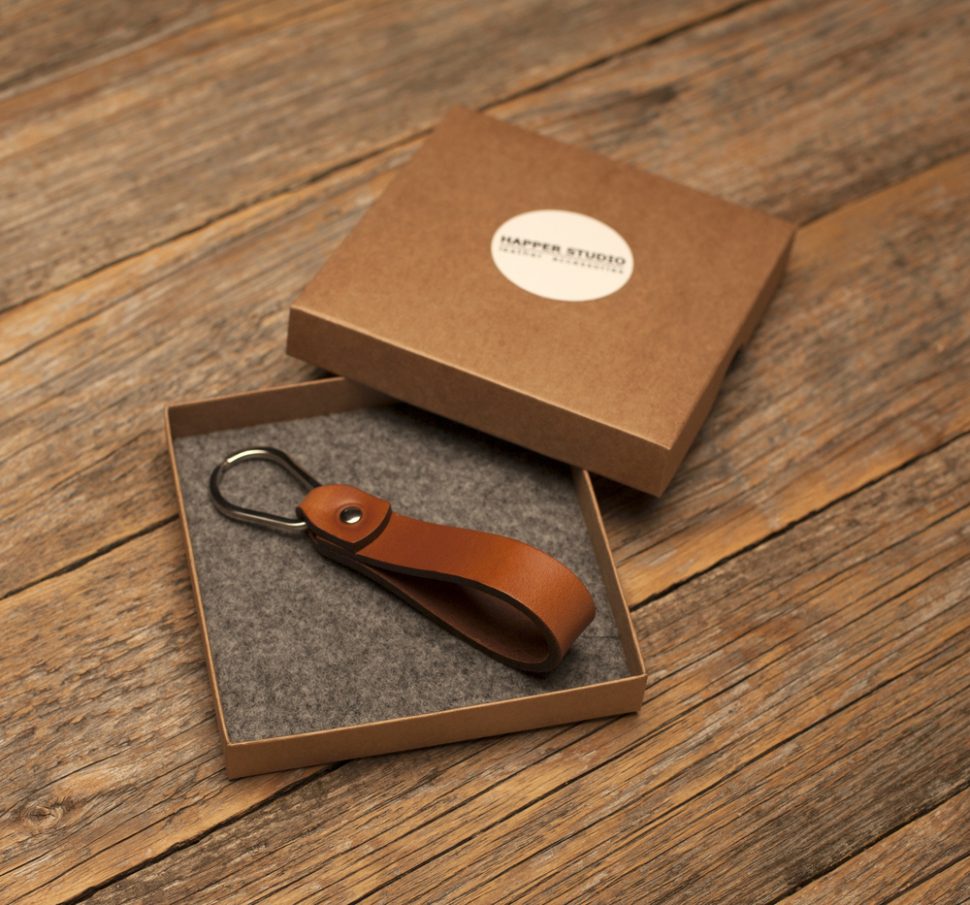
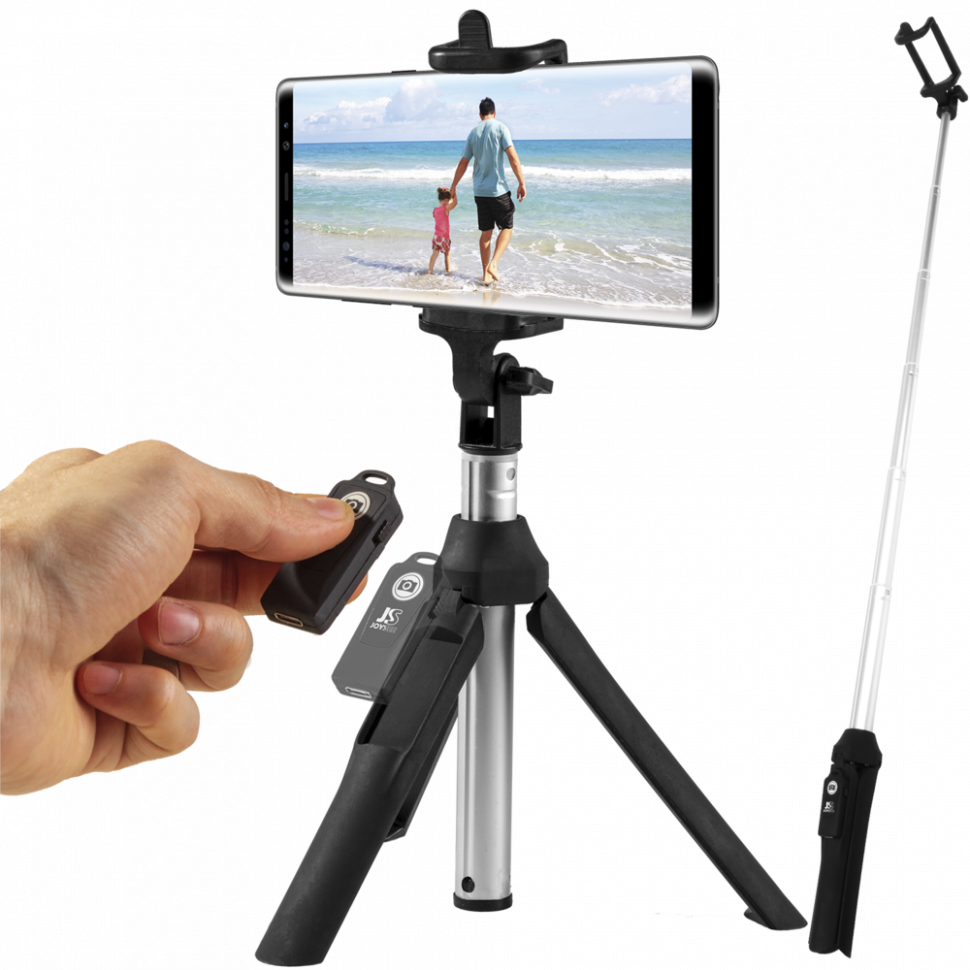
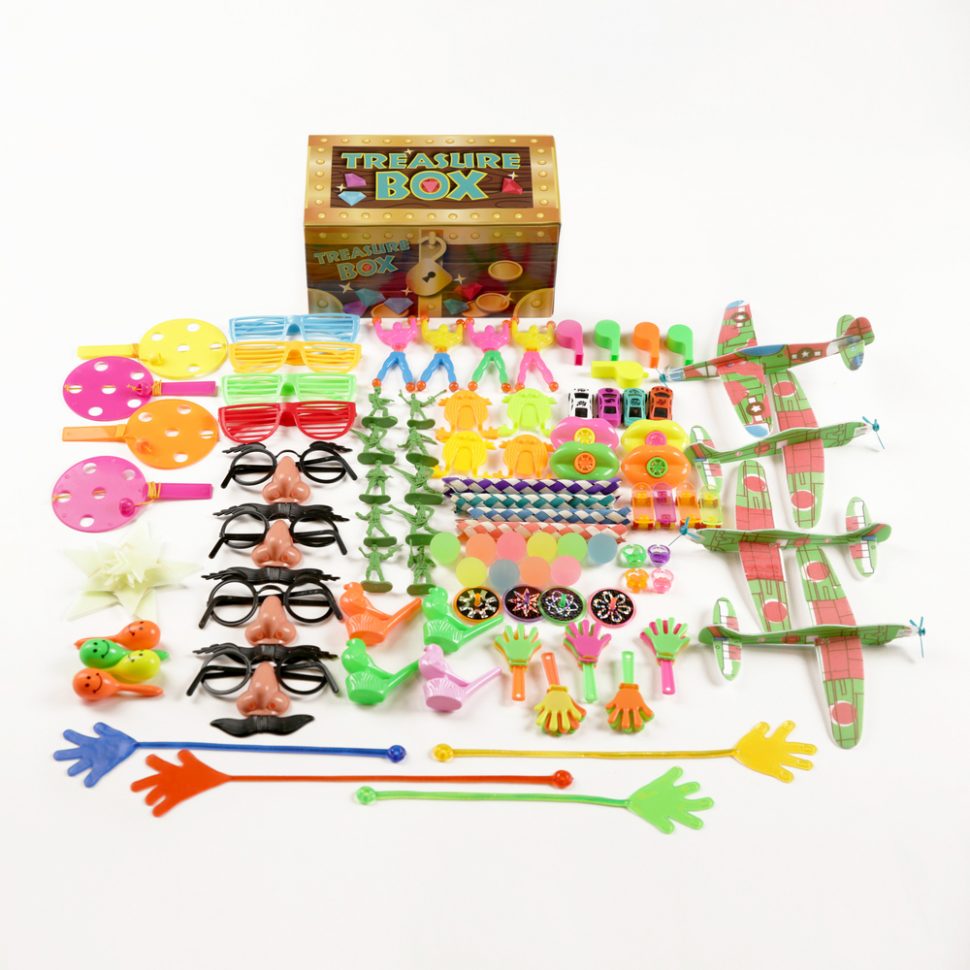
If your product comes with multiple components — earbuds with a case and charger, for instance — make sure to show everything your product includes so that shoppers know what they’re getting for their money. You should also include the packaging: a sleek box might entice customers to buy. The exception is if your product has bare-bones packaging, like a plastic sleeve.
Once you’ve chosen a batch of Amazon product photos, ask yourself if they would benefit from text and graphics. You might use overlayed text to reinforce key information or highlight features (“5-pack,” “USDA Organic,” “Works with Alexa,” etc).
Amazon product photography requirements
Amazon has several technical requirements for product shots. Make sure to follow these guidelines or your photos will be rejected.
- File format: TIFF (.tif/.tiff), JPEG (.jpeg/.jpg), GIF (.gif), or PNG (.png)
- Dimensions: 1000 pixels or larger in either height or width
- Color mode: RGB or CMYK
- File name: use the product identifier (Amazon ASIN, 13-digit ISBN, EAN, JAN, or UPC)
In addition to these tech specs, Amazon has a list of image standards for you to follow. For example, with the exception of books, music, and DVDs, products should fill 85% or more of the image frame. Make sure to read the full list.
How to choose the main photo
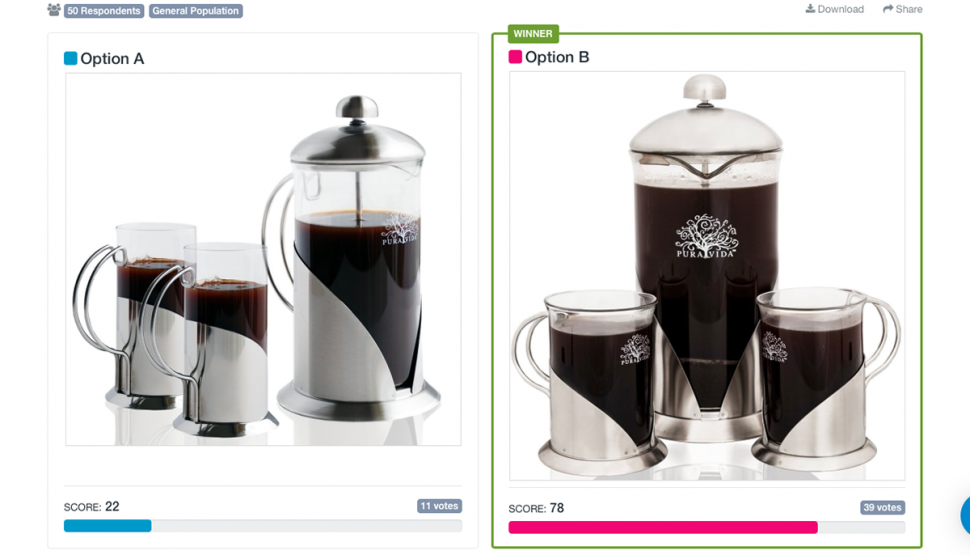
So, you have a group of great product shots. How do you choose just one to be the main photo in your Amazon listing? It’s an important decision: the main image may significantly affect your listing’s click-through rates. You don’t just want to just slap a photo up on Amazon and see how your sales do. (Note: Curious on how PickFu can help with amazon main image optimization? Check out our related article!)
Before going live, do an Amazon split test using PickFu to see how an audience reacts to your images. You can even customize the poll to test your target audience. Use this opportunity to experiment with text, angles, and layout. See whether shoppers prefer Amazon product lifestyle photography or pure product photos. In mere minutes, you’ll find out which image a real sample of the population prefers so you can optimize your listing and set yourself up for high sales.
